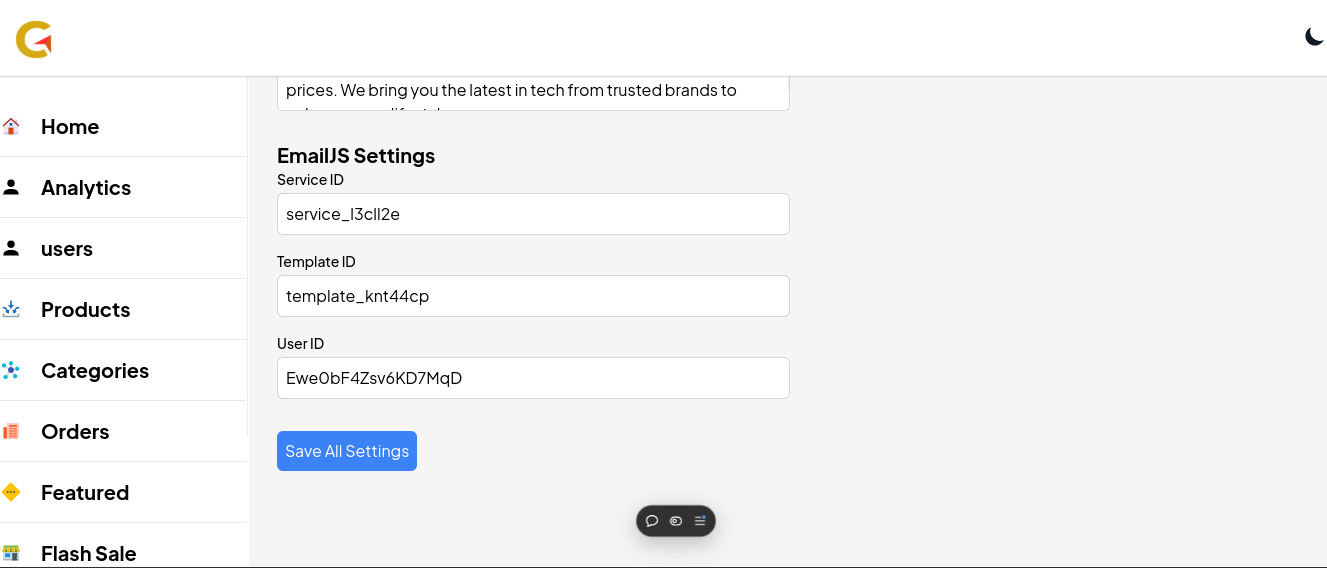
How Integrate EmailJS into your Website
Description
Posted On 12/12/2024
EmailJS is a powerful tool for sending emails directly from your application.
To integrate it into your project, you need three key identifiers: Email Service ID, Email Template ID, and Email User ID. Here's a step-by-step guide on how to retrieve these IDs.
1. Create an EmailJS Account
If you haven’t already, sign up for a free EmailJS account:
- Visit EmailJS.
- Click Sign Up and create your account using an email address and password.
- Log in to your dashboard.
2. Add an Email Service
An Email Service is the mail provider you’ll use to send emails (e.g., Gmail, Outlook, Yahoo).
- Navigate to the Email Services tab in the dashboard.
- Click Add Service.
- Select your email provider from the list (e.g., Gmail).
- Follow the prompts to connect your email account. For Gmail users, this may involve enabling "less secure app access" or using an app-specific password for added security.
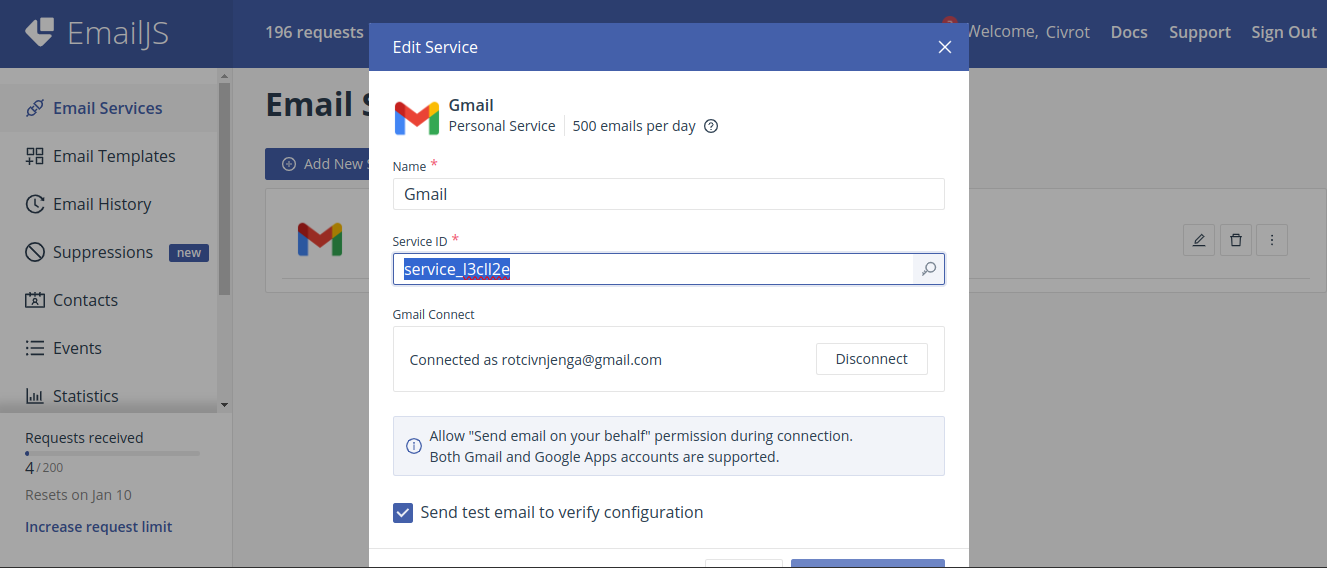
Copy and save your Service ID—you'll need it later.
3. Create an Email Template
An Email Template defines the structure and content of the emails you’ll send.
- Go to the Email Templates tab.
- Click Create New Template.
- Design your template:
Add this placeholders for dynamic content:
Hello Civrot Shop,
You got a new Order from {{firstName}} {{lastName}}:
Customer Email: {{email}}
Customer Phone Number: {{phone}}
Customer Location: {{location}}
{{cartItems}}
Payment Method: {{paymentMethod}}
Best wishes
4.Save the template.
After saving, you’ll see a Template ID for your email template.
Copy and save your Template ID.
How to Get Your Email Service ID, Template ID, and User ID in EmailJS
EmailJS is a powerful tool for sending emails directly from your application without a backend server. To integrate it into your project, you need three key identifiers: Email Service ID, Email Template ID, and Email User ID. Here's a step-by-step guide on how to retrieve these IDs.
1. Create an EmailJS Account
If you haven’t already, sign up for a free EmailJS account:
- Visit EmailJS.
- Click Sign Up and create your account using an email address and password.
- Log in to your dashboard.
2. Add an Email Service
An Email Service is the mail provider you’ll use to send emails (e.g., Gmail, Outlook, Yahoo).
- Navigate to the Email Services tab in the dashboard.
- Click Add Service.
- Select your email provider from the list (e.g., Gmail).
- Follow the prompts to connect your email account. For Gmail users, this may involve enabling "less secure app access" or using an app-specific password for added security.
Once the email service is successfully connected, you will receive an Email Service ID. This ID uniquely identifies your chosen email provider in EmailJS.
Copy and save your Service ID—you'll need it later.
3. Create an Email Template
An Email Template defines the structure and content of the emails you’ll send.
- Go to the Email Templates tab.
- Click Create New Template.
- Design your template:
- Add this placeholders for dynamic content
Hello Civrot Shop,
You got a new Order from {{firstName}} {{lastName}}:
Customer Email: {{email}}
Customer Phone Number: {{phone}}
Customer Location: {{location}}
{{cartItems}}
Payment Method: {{paymentMethod}}
Best wishes,
4.Save the template.
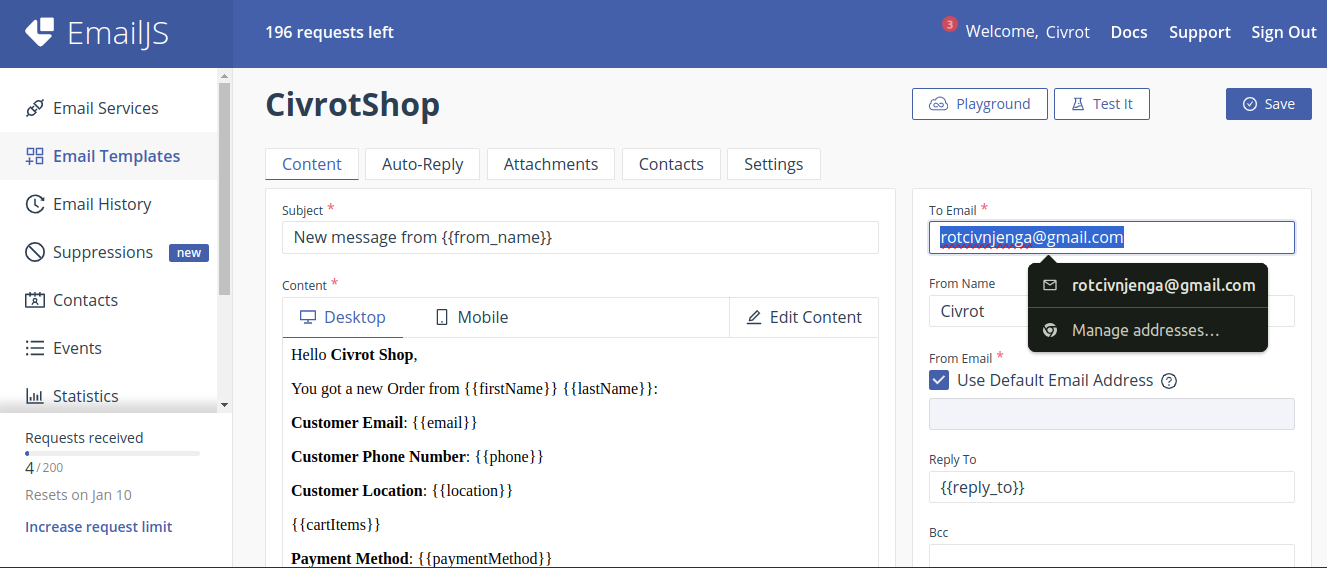
After saving, you’ll see a Template ID for your email template. This ID is essential for sending emails using your specific template.
Copy and save your Template ID.
4. Retrieve Your User ID
Your User ID is used to authenticate API requests from your application.
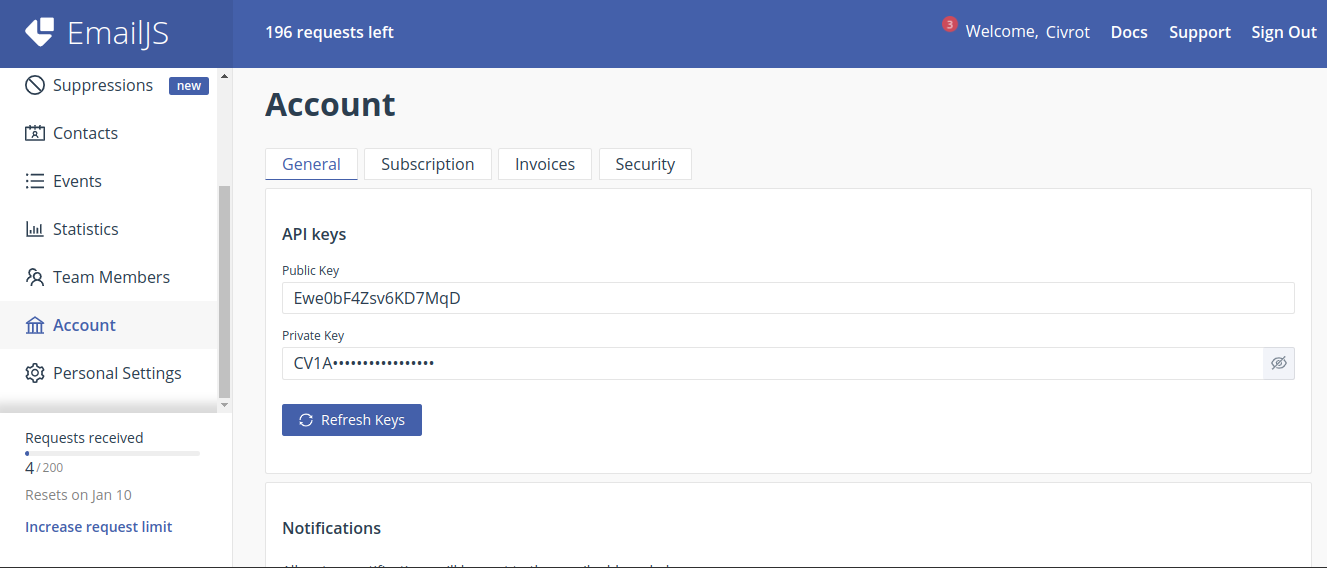
- Navigate to the Account tab on your EmailJS dashboard.
- Your User ID will be displayed in the “API Keys” section.
Copy the Public Key and save your User
5. Integrate with Your Website
Now that you have your Email Service ID, Email Template ID, and User ID, you can integrate EmailJS into your application.
